Here’s a little CSS trick I started using a while ago that has really helped me to achieve pixel precision when converting Photoshop PSD (or Fireworks PNG or whatever) design comps into (X)HTML and CSS web standards goodness.
The idea is to take the page you’re developing in HTML and CSS and overlay it on top of the design mockup you’re working from. And you can do this inside of any browser. The idea borrows upon the spirit of “Diagnostic Styling” evangelized by Eric Meyer (1) (2) by using a few extra classes.
First I take the design file and save it (save for web) as a flat PNG-32 (or 24) into a directory that’s easily accessed by the css file I’m developing. Then I open the HTML page I’m developing with Firefox and open up Firebug. Via Firebug’s CSS editing window, I set the HTML element’s background-image property to the PNG design comp I just saved. Usually the BODY element will have some background property set that will obscure the HTML element, so I’ll set the BODY element’s opacity property to about 50% or so.
Now the original design comp will be showing through behind the rest of the HTML document.
To streamline the process a bit, I’ve created these CSS rules which can be dropped into any site’s CSS file:
html.bg {
    background-position: 50% 0;
    background-repeat: no-repeat;
}

html.bg body {
    filter: alpha(opacity=70);
    opacity: .7;
}
And on a more per-project basis:
html.bg-home {
    background-image: url(../img/mockup-home.png);
}

html.bg-about {
    background-image: url(../img/mockup-about.png);
}
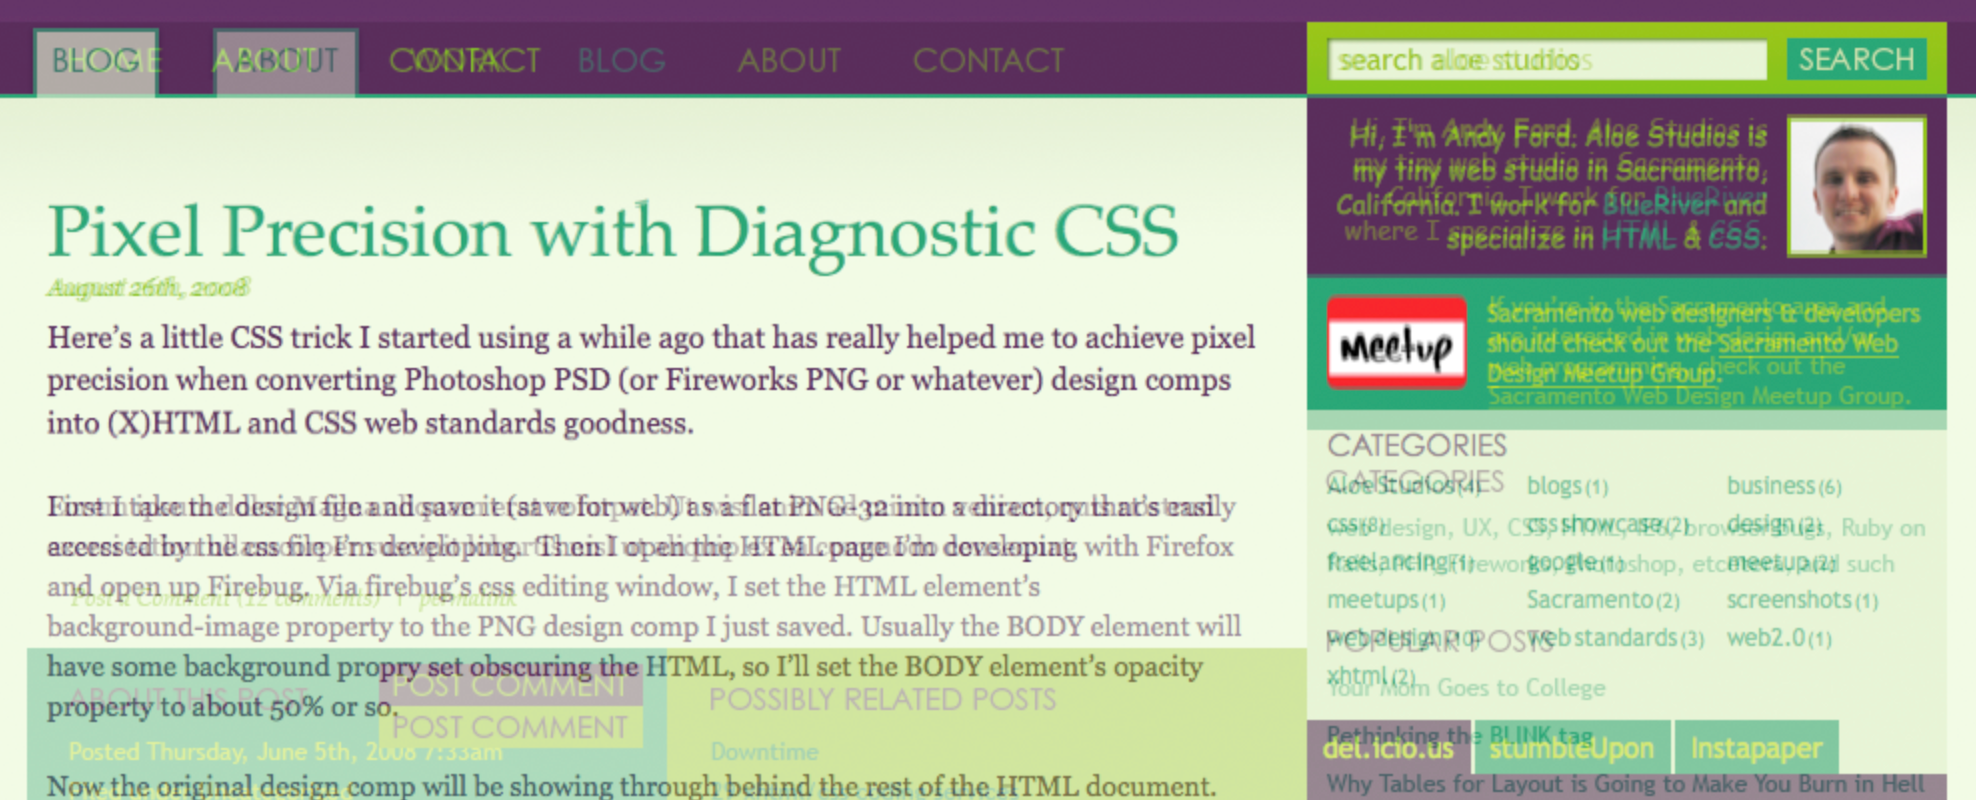
Here’s an example of what it looked like to use this technique on this post in a previous version of the design:

Benefits
This technique will work in just about any browser. Just add the classes to the HTML element in your markup and you’ve got your mockup in the background. Having the mockup in the background also means that link rollovers stay intact. And you can still use Firebug as you normally would.
Caveats
IE 6 and 7 have some issues with the opacity filter and positioning so all elements may not be transparent.
Also, since this technique uses the HTML element to display the mockup as a background image, that means it will override any background you may have already set on the HTML element. Personally I probably only set backgrounds on the HTML element about 50-60% of the time and they’re usually pretty not too complex. I don’t see this as being much of a drawback, but it is worth stating.
Why not just use Pixel Perfect or OverlayComp?
If you haven’t seen it, there’s a really cool tool for Firefox called Pixel Perfect (more specifically, it’s a plugin for the Firebug extension) which allows you to overlay a design comp over the top of a web page you’re viewing in Firefox. This is an ingenious tool and I tip my hat to the Pixel Perfect developers.
What I personally don’t like about Pixel Perfect is that it adds the image file on top of everything
effectively disabling your ability to use Firebug for on-page CSS editing.
The demo video on their site looks like someone is actually using Firebug while an overlay is present,
but I was never
not able to get that to work
at first because I had the “Hide overlay when inspecting” option turned on
(Thanks to Pixel Perfect developer Mike Buckley for setting me straight).
So, like OverlayComp, inspecting elements is still very possible – just not accessible via right clicking on the web page.
Also, it’s
It is a Firebug plugin, so Firefox is the one and only browser it works in.
OverlayComp works similarly to Pixel Perfect in that it places your image over the top of the html. Inspecting elements in Firebug is still possible – just a little extra work. It requires adding javascript directly to your page with a script element, but it does work in all browsers.
At the end of the day, you’ve got to use the tool that works best for you. I’d love to know how other CSS developers are approaching this and if there are any other tools available for this kind of thing.